What is a visual composer?
Visual Composer is a page-building application. It facilitates the creation of pages. It provides a variety of aspects that aid in the creation of the site. However, there may be times when we need to build a custom element with special capabilities.
When we are making a site with a visual composer, it is sometimes not possible to build some designs using the visual composer elements. So at that time, we need to use HTML elements for built designs.
But the Visual Composer API provides the facility to build your own custom element for some special requirements, and it’s very easy. We can build custom elements using the vc_before_init action. Add the below code in the theme’s function.php file.
<?php
add_action( 'vc_before_init', 'cxc_create_custom_element_in_vc' );

function cxc_create_custom_element_in_vc() {
	vc_map(
		array(
			"name" => __( "My Custom Element", "cxc-codexcoach" ), // Element name
			"base" => "cxc_my_custom_element", // Element shortcode
			"class" => "custom-element",
			"category" => __( 'Content', 'cxc-codexcoach' ),
			"params" => array(
				array(
					"type" => "textfield",
					"holder" => "div",
					"class" => "",
					"heading" => __( "Title", "cxc-codexcoach" ),
					"param_name" => "cxc_my_custom_element_title",
					"value" => __( "", "cxc-codexcoach" ),
					"description" => __( 'Add a Main section\'s title.".', "cxc-codexcoach" )
				),
				array(
					"type" => "textarea",
					"holder" => "div",
					"class" => "",
					"heading" => __( "Description", "cxc-codexcoach" ),
					"param_name" => "cxc_my_custom_element_description",
					"value" => __( "", "cxc-codexcoach" ),
					"description" => __( 'Add a Main section\'s description.".', "cxc-codexcoach" )
				),
				array(
					"type" => "textfield",
					"holder" => "div",
					"class" => "",
					"heading" => __( "Extra class name", "cxc-codexcoach" ),
					"param_name" => "cxc_my_custom_element_extra_class",
					"value" => __( "", "cxc-codexcoach" ),
					"description" => __( 'Style particular content element differently - add a class name and refer to it in custom CSS.".', "cxc-codexcoach" )
				),
			)
		)
	);
}


add_shortcode( 'cxc_my_custom_element', 'cxc_my_custom_element_func' );

function cxc_my_custom_element_func( $atts ) {
	ob_start();

	$atts = shortcode_atts( array(
		'cxc_my_custom_element_title' => '',
		'cxc_my_custom_element_description' => '',
		'cxc_my_custom_element_extra_class' => '',
	), $atts, 'cxc_my_custom_element' );

	$title = $atts['cxc_my_custom_element_title'];
	$description = $atts['cxc_my_custom_element_description'];
	$class = $atts['cxc_my_custom_element_extra_class'];
	?>

	<div class="main_title <?php echo $class; ?>">
		<h2><?php echo $title; ?></h2>
		<p><?php echo $description; ?></p>
	</div>

	<?php
	$result = ob_get_clean();
	return $result;
}
?>- The code starts by creating a new custom element called “My Custom Element”.
- The shortcode for this is wc_my_custom_element.
- It then creates a div with the class of “custom-element” and places it inside the map.
- Next, it sets up an action to run when someone clicks on the map’s title (wc_my_custom_element).
- This action will create a text field that has no value set in it.
- The code starts by creating a new custom element called “My Custom Element”.
- The shortcode for this is wc_my_custom_element.
- It then creates a div with the class of “custom-element” and places it inside the map.
- Next, it sets up an action to run when someone clicks on the map’s title (wc
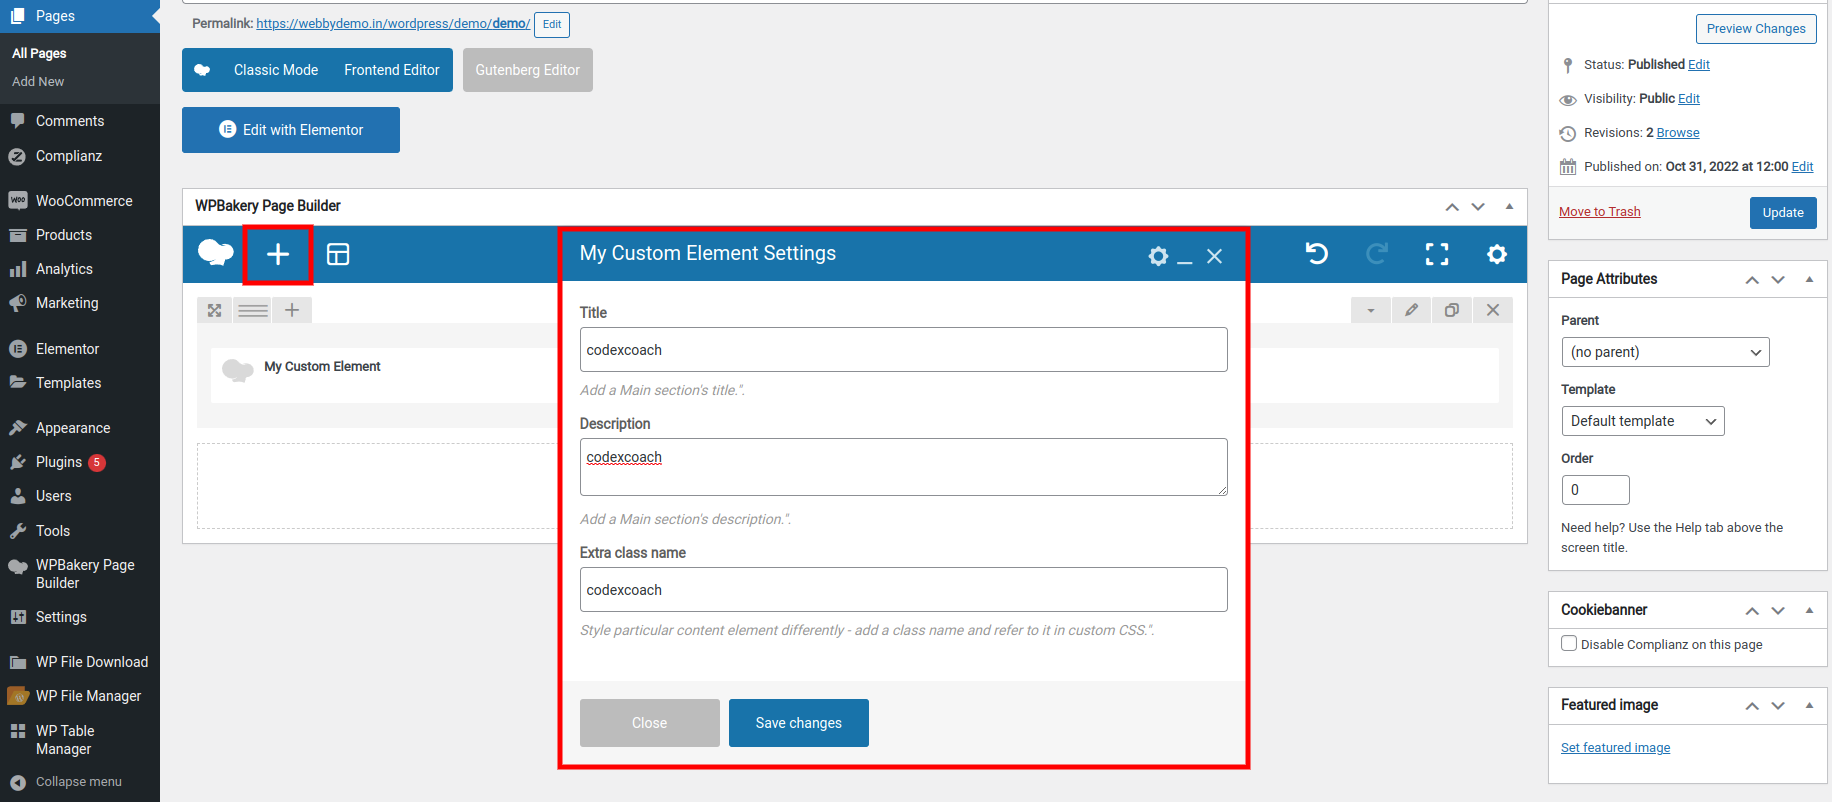
- The code will produce a custom element with the name of “My Custom Element” and a shortcode of wc_my_custom_element.
- The class is set to “custom-element”.
- This element has a category called “Content” which is defined in the code above.
- The parameter for this custom element is called wc_my_custom_element_title, which takes a string value and outputs it as a heading on the page.
- The purpose of this code is that there will be an input field on the page with the label “Title”, which when clicked, will output whatever was typed into that input field as text on the page.
Was this article helpful?
YesNo